Important information about images:
Importing Images
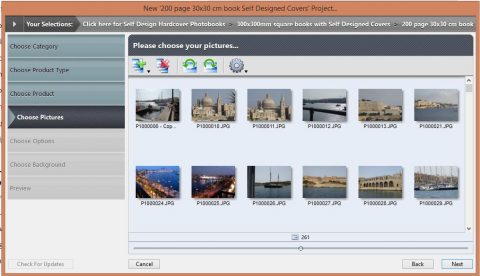
When creating a new project, you will be prompted to select images to 'import' into the project:
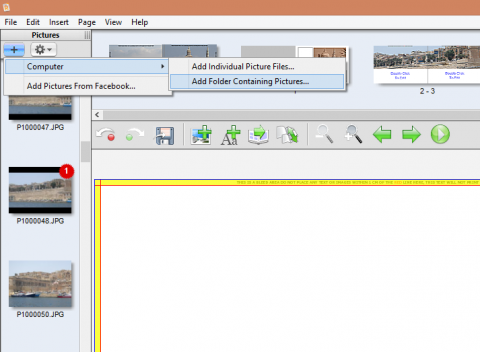
To add extra images as you design your project, you can import more by pressing the "+" button above the image library pane on the left side of the designer:
Finding Missing Images
In the event that your photo files (or the folders containing those photo files) are moved or renamed, you may need to 'show' the software where the images are now located.
NOTE: Pressing 'Continue' at any time during this process will ignore the missing images and open the project.
After opening the project, a prompt similar to the following may appear:
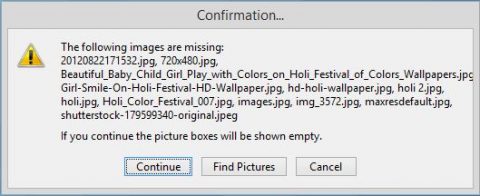
Select 'Find Pictures', which will show you a thumbnailed list of all the missing images in your project:
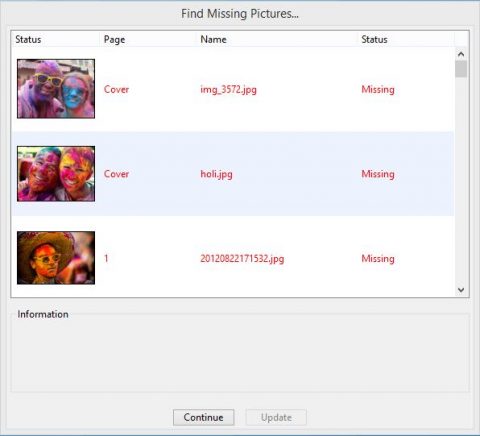
Select the first item in the list and then press the 'Update' Button.
You will be presented with an 'open' box, where you can navigate through folders on your computer to locate the missing photo file. Once selected, the software will ask for confirmation:

If the photo is correct, select 'Yes.'
The software will then check the folder located this 'replaced' photo file to see if any other missing photo files are also in the same folder. If the software detects more missing photos, it will ask if you'd like to update those too:

If you'd like to replace any other found photo files, press 'Yes' to import them too.
The software will return you to the 'Find Missing Pictures...' screen, where you may need to update further photos, depending on how many are still missing and where they are located.
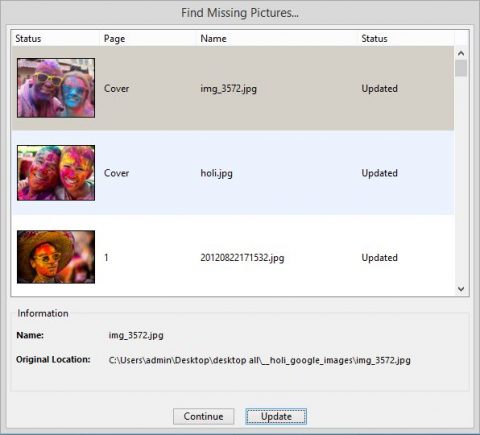
Once all files are updated, you can safely press the 'Continue' button and open the project with all missing photos located.
If missing photos are not replaced, the software will remind you before uploading your project.